

4. HML Transvaal and British Colonialism: Illustrated History of Landships, 1858-2008
All Rights Reserved, 2023. See Author's note.

Author’s note: As far as we are aware, all images are taken from public domain sources; please inform the author of any mistakes in this regard. In terms of any original sketches, these are amateur attempts based on the author’s own archival research. He welcomes improvement from any professional illustrators interested in enhancing this work. ~ CAH, 2023
In memory of Dad, who taught me a love for all things historical, and in homage to William Pène du Bois, who opened up my imagination.
Part One: Introduction
Part Two: The Sally Ann
Part Three: The Boudreaux Circus Ship
HML Transvaal, 1879
The HML Transvaal was a troop transport hastily constructed during the Anglo-Zulu War of 1879, proving its use as a laager in the battle of Ulundi.
Class & Type: Transvaal, troop transport/laager (1 of 2 built)
Crew: c. 26 (Royal Navy)
Capacity/Complement: Rifle Company (c. 80-100 men); gun crews x 2
Construction: Van Melkebeke & Co., Durban, 1879
Hull: wood, with iron joints between sections
Buoyancy: 4 x hydrogen Zeppelins, lofted, semi-rigid, fabric
Buoyancy source: gas-powered pumps when in camp or port
Wheels/track: 12 x 108” wheels, 4 x 120” steam powered wheels
Propulsion: wind, steam
Sail Plan: 3-masted Barquentine
Power plant: coal engine
Length: 225 ft
Beam: 62 ft
Decks: 4, incl. crawl space and crow’s nest
Weight (empty): 114 tons
Clearance: 8 ft
Steering: trailing wheels, ship’s wheel
Speed: 2-5 mph
Armor: .5” iron gunwales, sandbags when needed
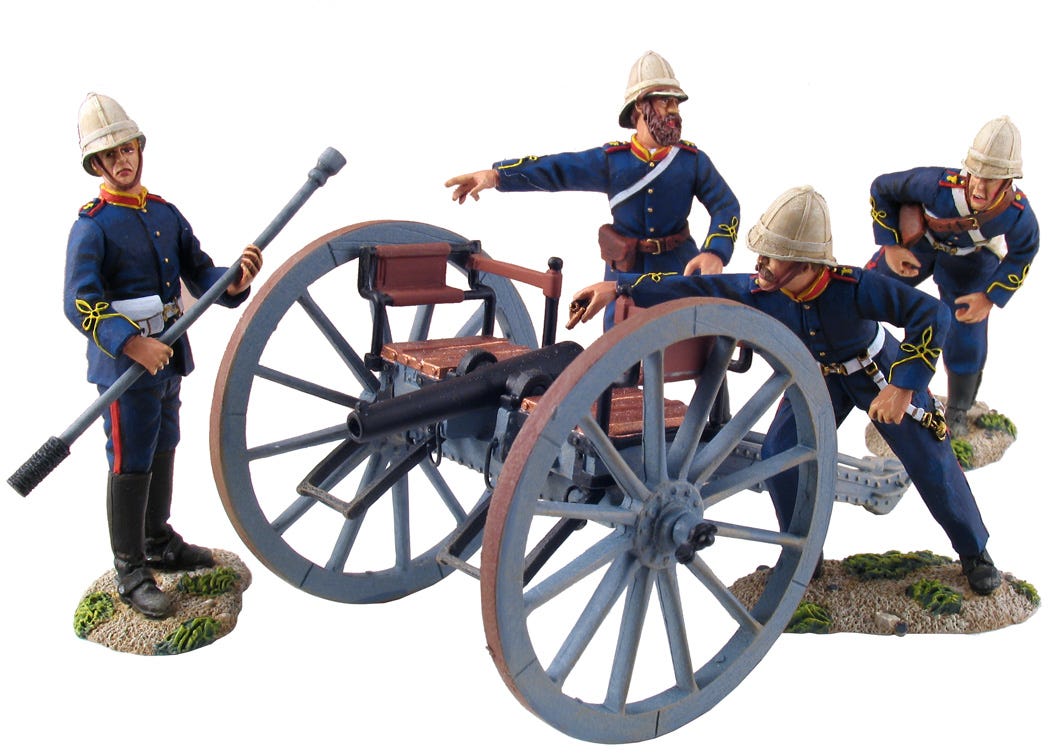
Armament: 1 x 7 lb mountain gun, 1 x Gatling gun
Communications: semaphore, flags
Other Transportation: n/a
Amenities: n/a
Fate: decommissioned 1902, sold for parts
After the disaster at Islawanda, Lord Chelmsfield thought to make up for his error by repeating the tactics that won the subsequent battle of Rorke’s Drift. The problem, of course, was that Rorke’s Drift a defensive effort fought behind walls and sandbags, when what the British needed was offensive power.

Thankfully for the British, there were three uncompleted barges in the Van Melkebeke ship works in Durban harbor. Chelmsfield requisitioned these and appointed Royal Engineers to assist the shipwrights in converting these barges into what would become the Transvaal. He had in mind a portable “Rorke’s Drift,” a landship that would be able to bring troops deep into Zululand while providing some means of defense against the Zulu impi formations - a ready made “square” to counter the waves of Zulu warriors.

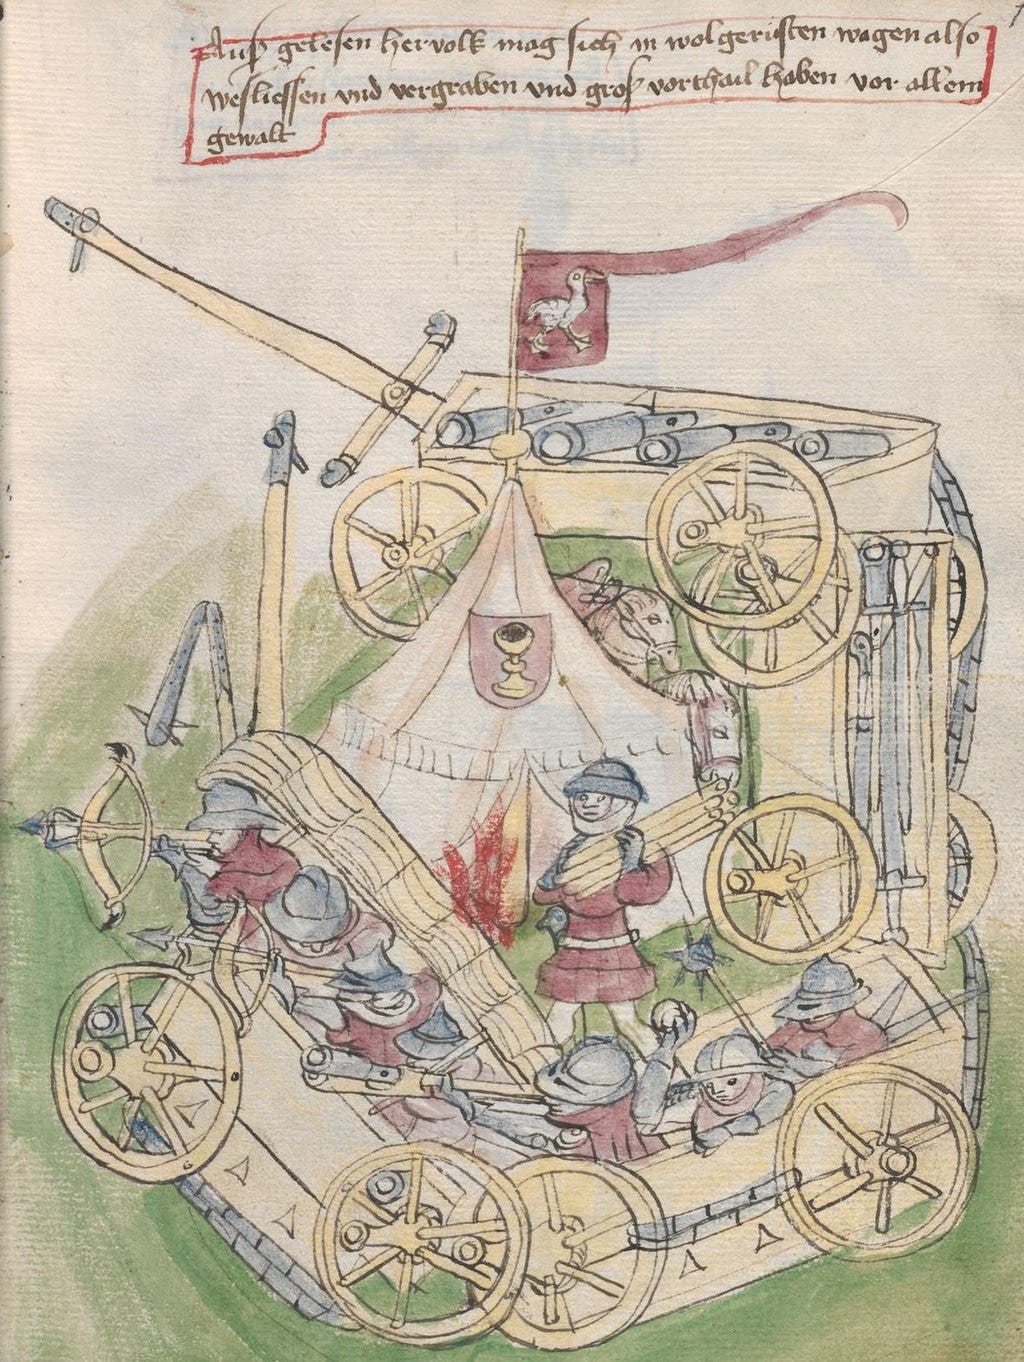
The concept of a “battle wagon” (Afrikaans: laager) was certainly not new, as shown by the Hussites during the Bohemian Wars several centuries earlier. But until the Great Gravitational Shift of 1855, laagers wer largely impractical. Chelmsfield thought to commission a dozen of these landships for the army but the decisive victory at Ulundi brought the war to an end before any others could be built. It was said that Disraeli was skeptical of the venture and refused to allow a British name for the ship. The temporary name of Transvaal was thus given and it stuck.
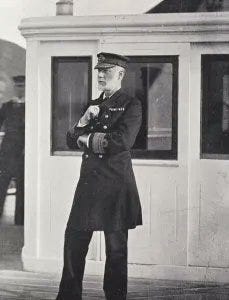
The British were alone among the Great Powers of the 19th century to crew their landships with Royal Navy sailors and officers, which led to not a few inter-service rivalries on board. As a rule, the naval captain was in charge of the ship but overall command of the column was given to the ranking Army officer. With the exception of the infamous HML Victoria incident of 1888, this arrangement proved satisfactory.
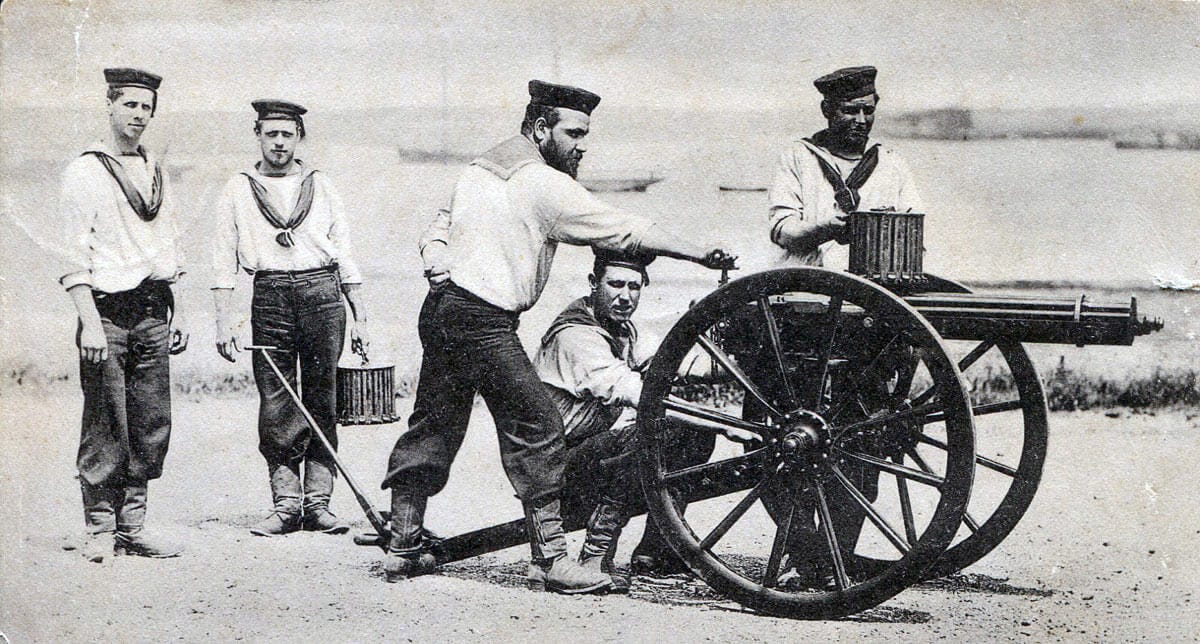
The Transvaal had six officers and approximately a score of sailors. The authorized officers were listed as Captain, two lieutenants, a midshipman, and two warrants: surgeon and chaplain. The petty officers included sailmaster, boatswain, sailmaker, cooper-blacksmith and coxswain. The rest of the crew consisted of able seamen, ordinary seamen, and a two cooks. All could assist to raise sails, make camp, and in dire straights, shoulder firearms. In addition, the Royal Navy provided a five man Gatling gun crew, usually facing aft from the poop deck.
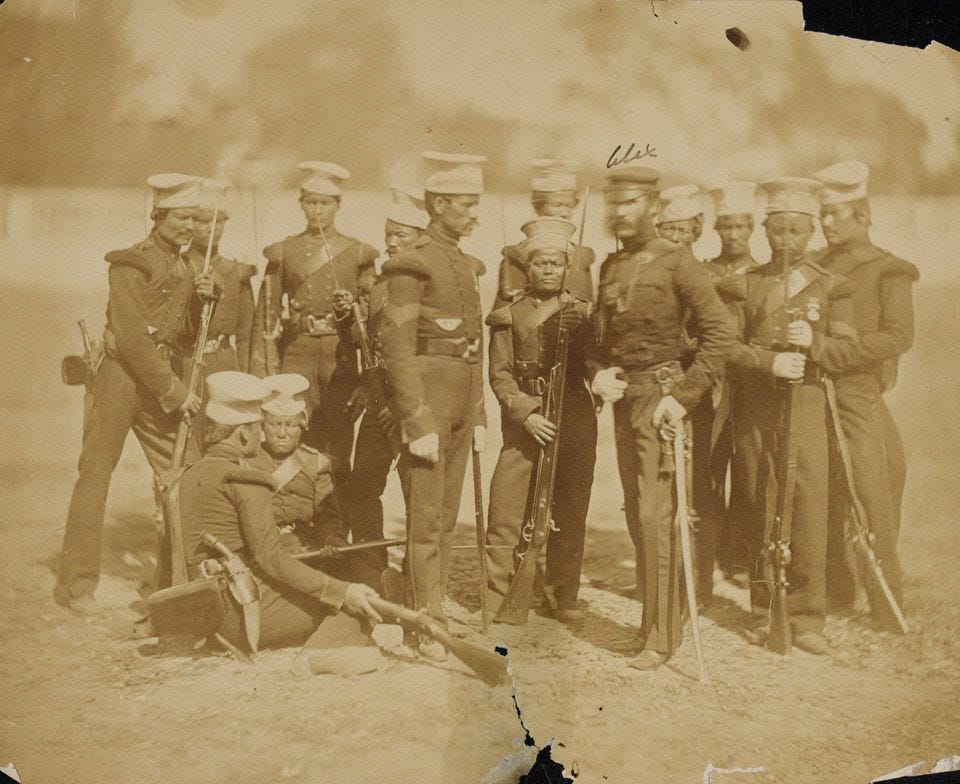
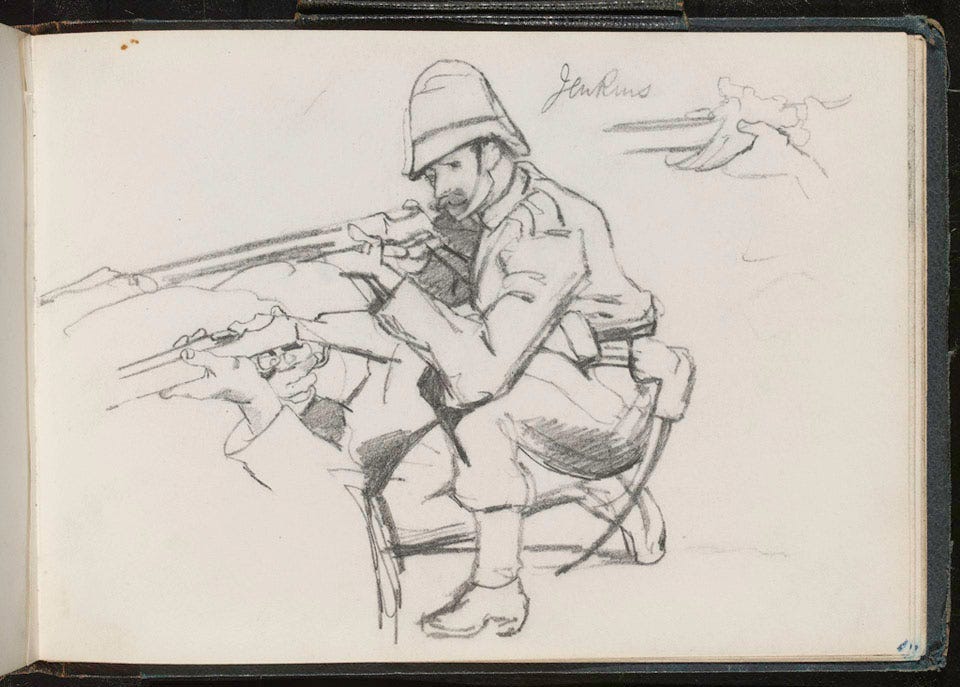
The rifle company assigned to the Transvaal was the 81st Regiment of Foot (Aberdeenshire Highlanders), under strength due to their losses at Islawanda. By the time of Ulundi, replacements put their numbers at two officers (major, second lieutenant); one color sergeant; two sergeants; four corporals; one bugler and seventy-two privates, for a total of eighty-one men. The company was armed with the effective Martini-Henri rifle, while the officers carried broadswords and sidearms.
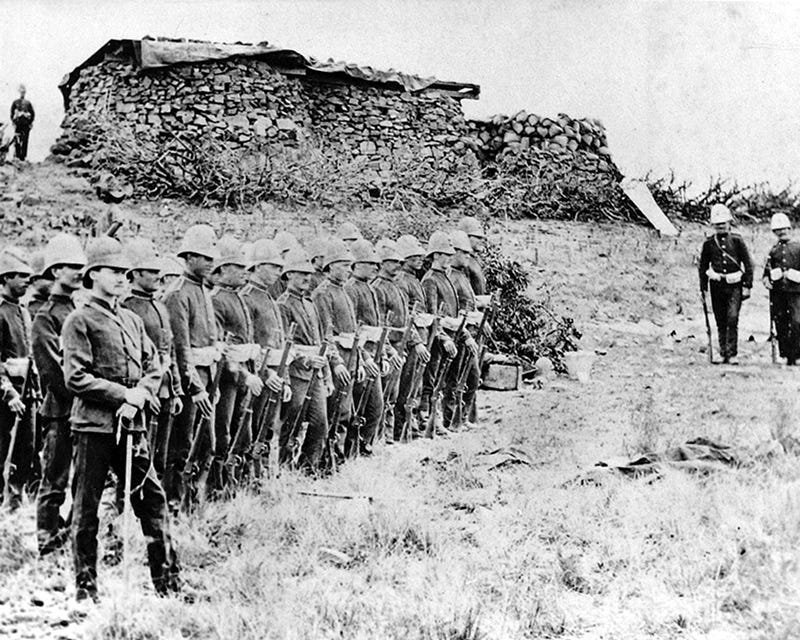
The company was augmented by several small detachments. A Royal Artillery crew manned a 7-pounder mountain gun mounted on the forecastle. A small detachment of Natal Mounted Police scouts rode along beside. Volunteer Gurkha snipers were deployed in the rigging. In addition, the Royal Engineers placed an officer and sapper on board for the purposes of surveying and assisting with stream crossings.
All told, the HML Transvaal carried approximately 125 Navy and Army personnel into the Ulundi campaign. With the Natal detachment, the command consisted of around 140 men. As the Transvaal launched, the question still remained as a dark cloud over both crew and company: would they fare any better against the Zulu impi than they did at Islawanda?
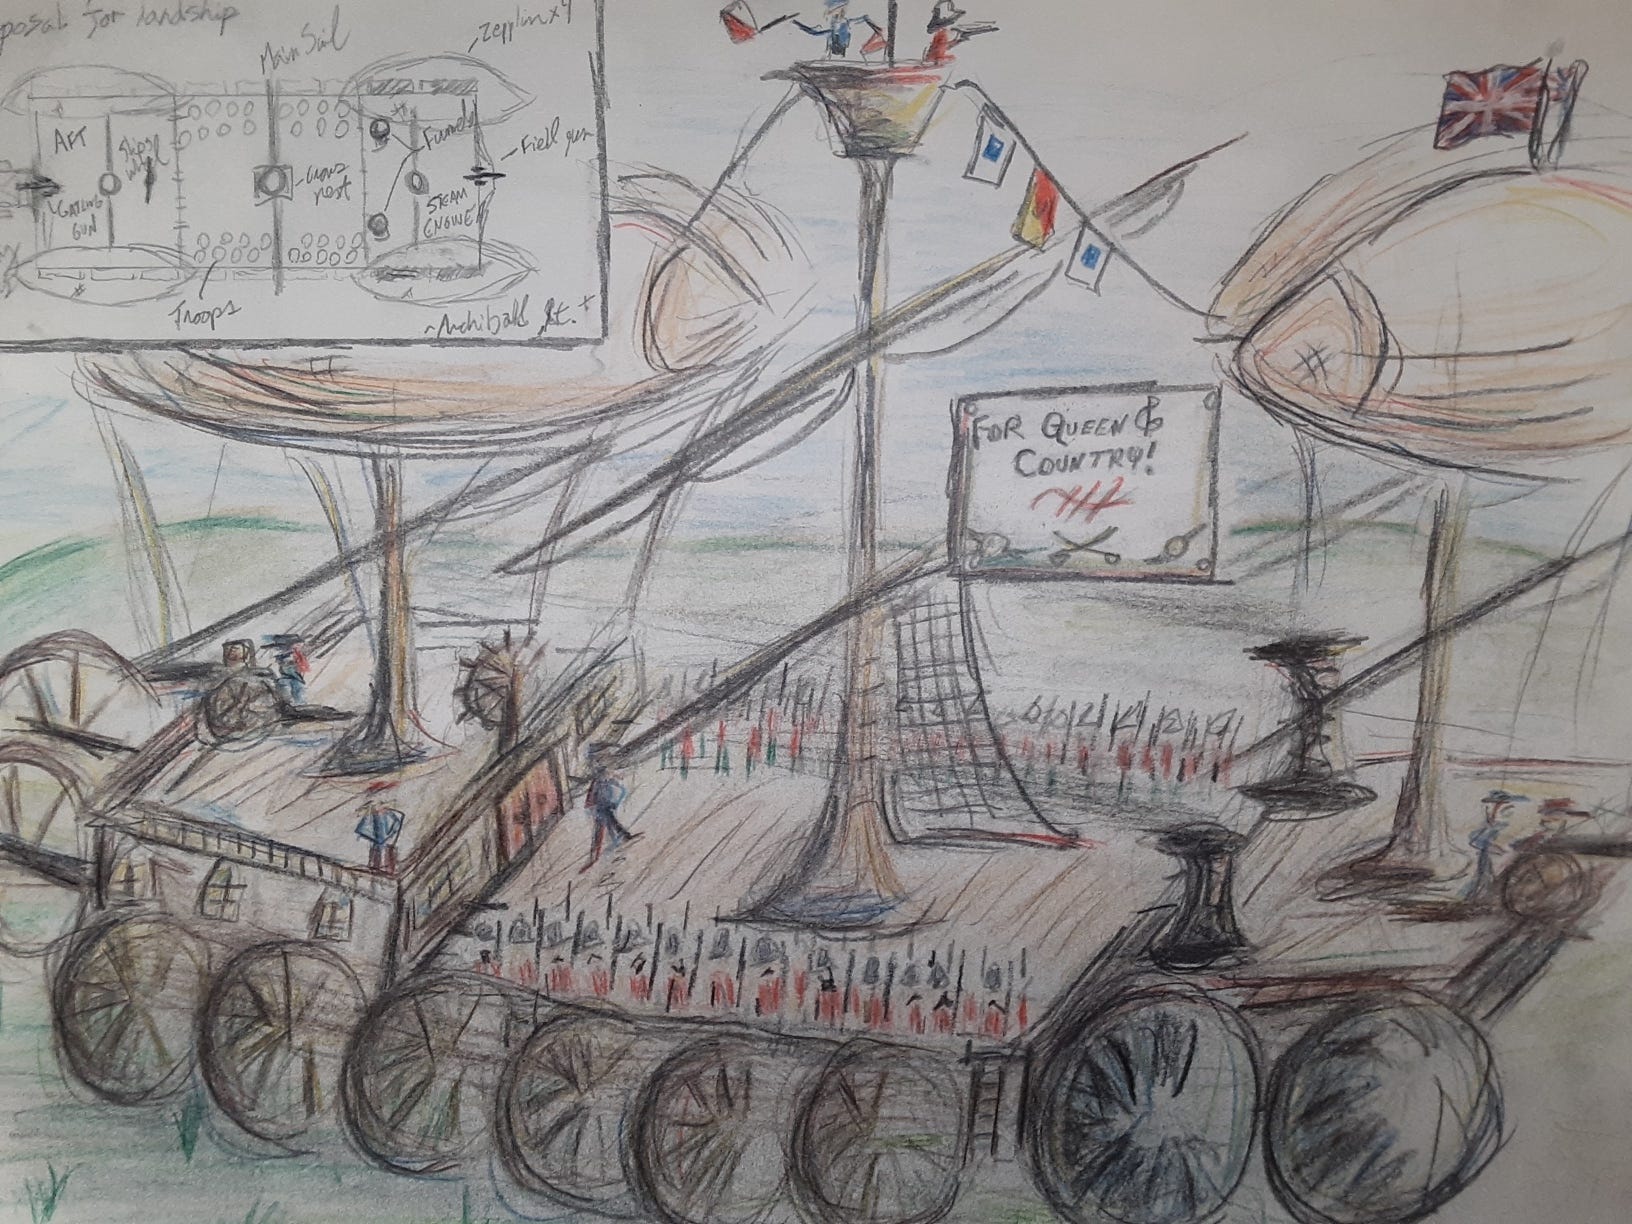
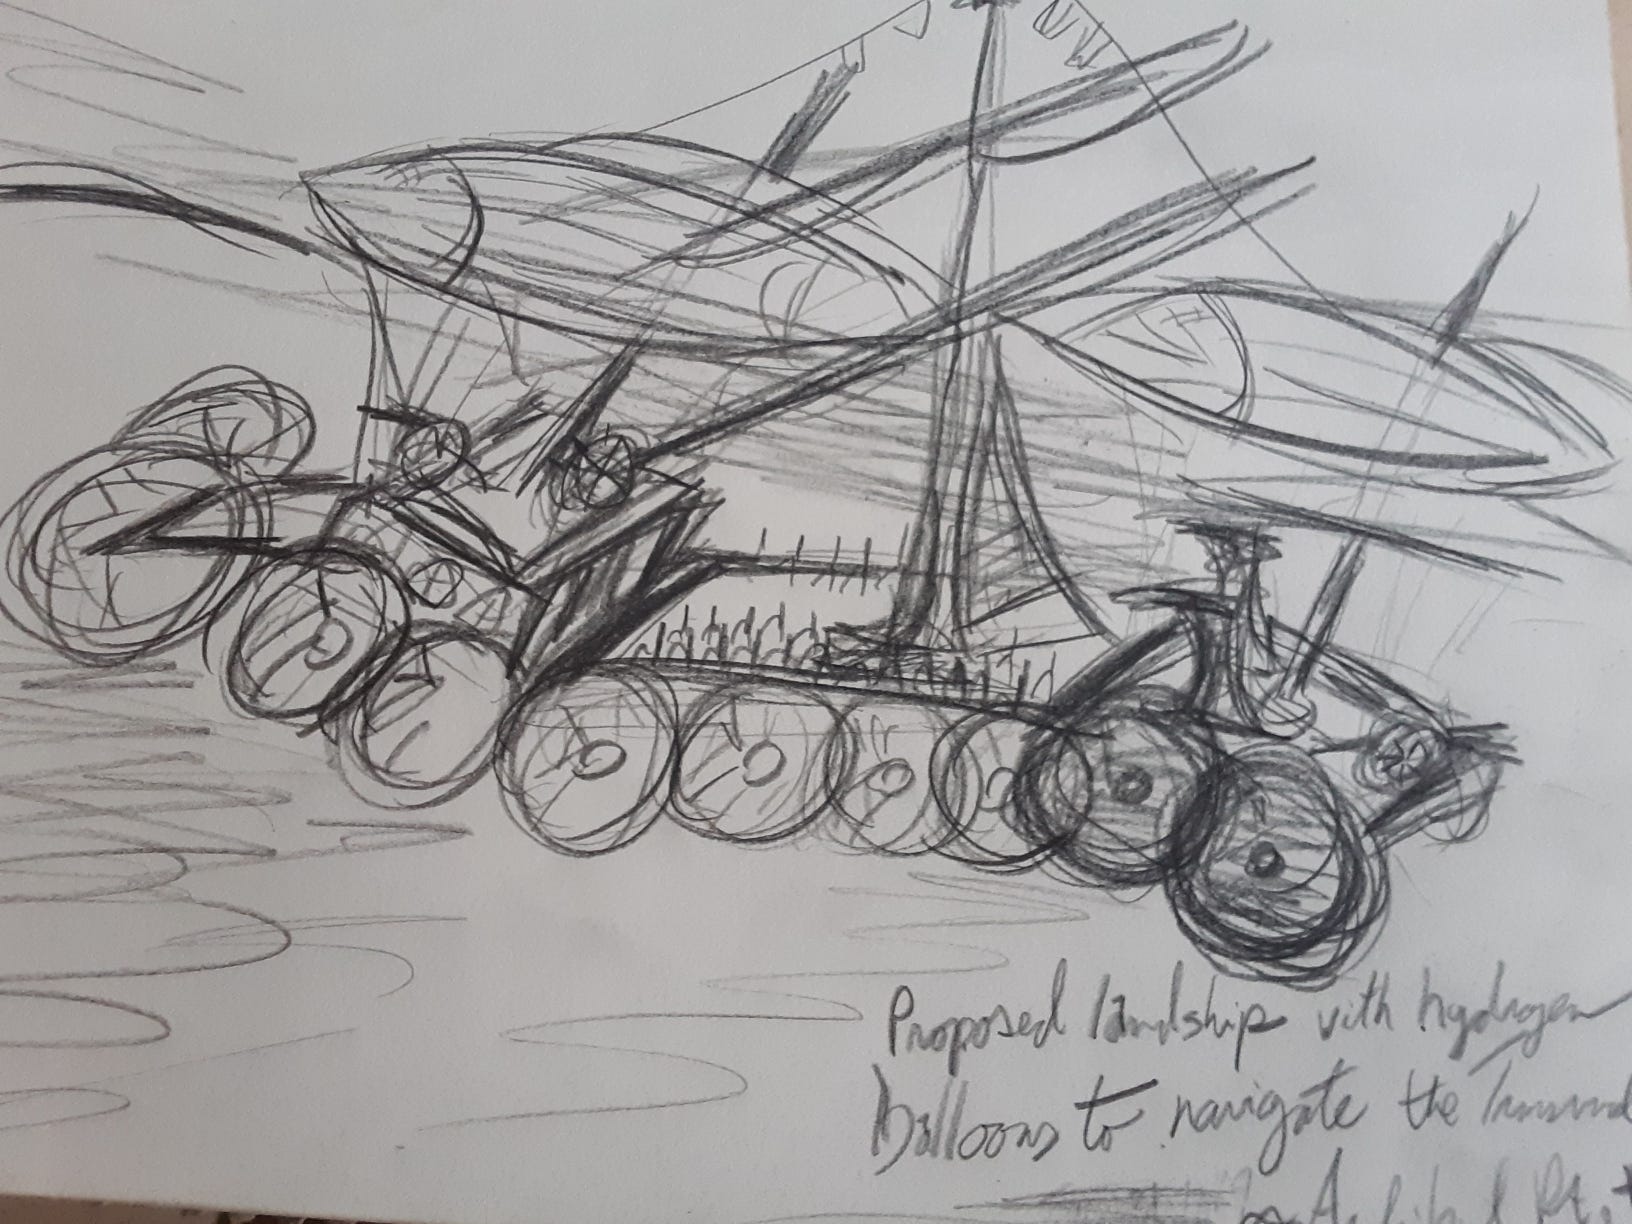
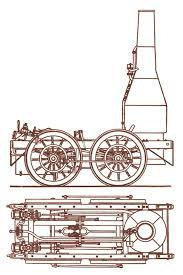
The engineering of the Transvaal was quite ingenious, following some sketches sent to the Royal Army Service Corps from an Anglican minister in Capetown. The ship was divided into three segments, each with their own mast. The forecastle, or focsle, contained a large coal steam engine which powered four large, 120” wheels to drive the ship forward and supplement its wind power. The coal was fed into the engines by 4-6 trimmers from a storage heap under the focsle deck.
These trimmers were usually the newest recruits and were known to count on casualties above deck to make way for promotion. Trimmer banter in this regard was made famous in more recent popular culture from a skit by the Monty Python comedy troupe. While entertaining, we must note that the skit contains several historical inaccuracies about crew life aboard a typical 19th century landship.
The amidship, or main deck, contained the main mast and carried the majority of the rifle company. Sandbags were laid aside the gunwales for extra protection when in camp but left empty when the Transvaal was in sail in order to lighten the payload. Rope ladders allowed for easy transit between ground and deck. Above, a crow’s nest sat atop the main mast for lookouts and the signal man, who was in charge of both nautical flags and the semaphore.
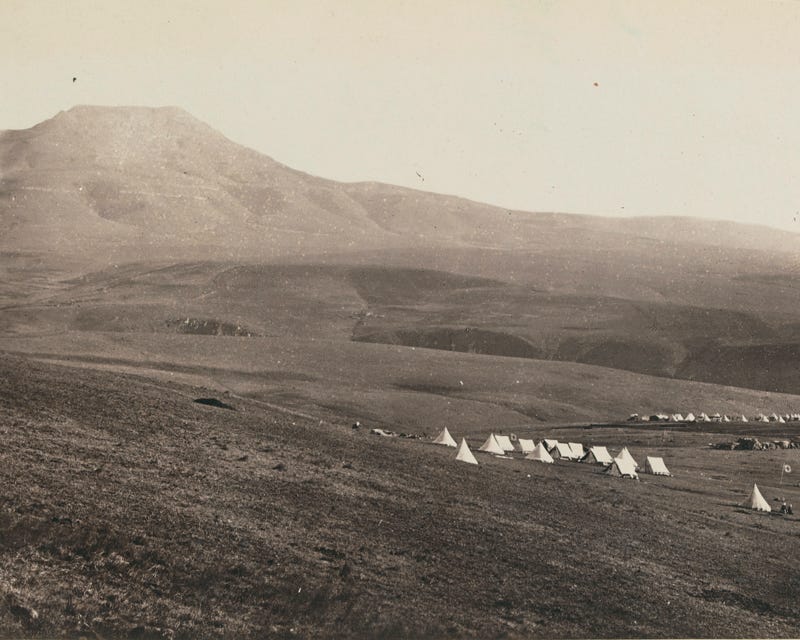
The aft, or poop deck, contained a large ship’s wheel which directed the trailing wheels, as well as the Royal Navy Gatling gun facing aft. Underneath was the captain’s quarters and officer’s mess. The rest of the crew and the rifle company sheltered in tents while in camp, with the ability to pitch three or four on the main deck itself as needed.
While innovative, the three-sectioned landship design also involved some operational complexities and danger. It allowed the Transvaal and other like ships to navigate the African savannas more easily, but was also subject to more wear and tear in its joints, keeping the cooper-blacksmith busy. More ominously, if men were not careful, they could fall between the sections as the ship was moving, resulting in the loss of life or limb. This is the origin of the phrase still repeated to careless cadets at Sandhurst and by drill sergeants to countless soldiers elsewhere - “Mind the Crease!”

Sustaining the Transvaal were four semi-rigid zeppelins attached to the port and starboard sides of the focsle and poop deck. These were high enough to avoid the sails, but lower than the crow’s nest so as to avoid blocking sight and signal. The zeppelins were filled by pumps with hydrogen in port, and if need be could be refilled in camp from supply wagons. When deployed as a laager, the Transvaal deflated and stored the zeppelins to reduce their flammability. But overall, the risk of hydrogen was thought to be acceptable in the southern African context, and worth the extra buoyancy it provided over hot air.
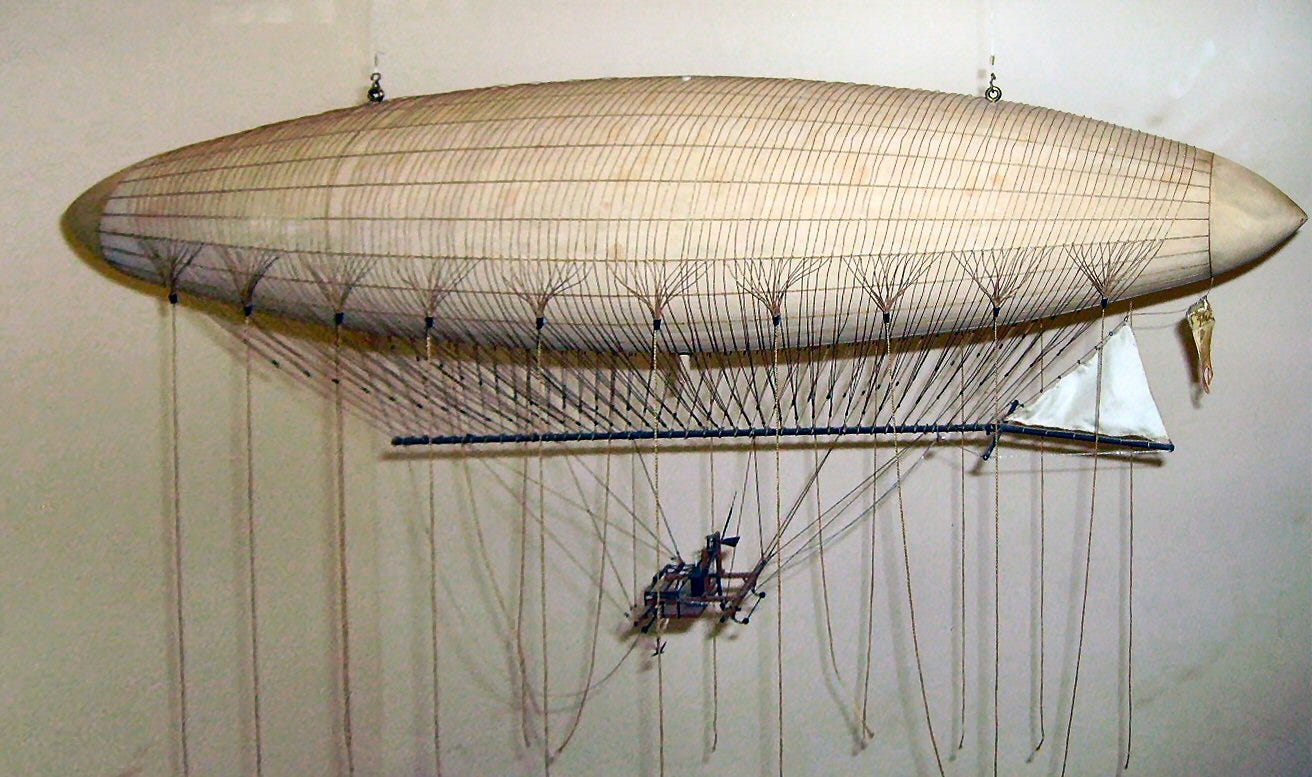
While hydrogen may seem unthinkable in today’s post-Hindenburg context, it must be remembered that this was before helium was readily available subsequent to the Helium Wars of the 1890s. Furthermore, after the invention of furloy by Houghton Furlong (on this, see William Pène du Bois), hydrogen was no longer considered desirable for landships in terms of either safety or cost. But, in 1879, the widespread production of furloy was still several decades away.

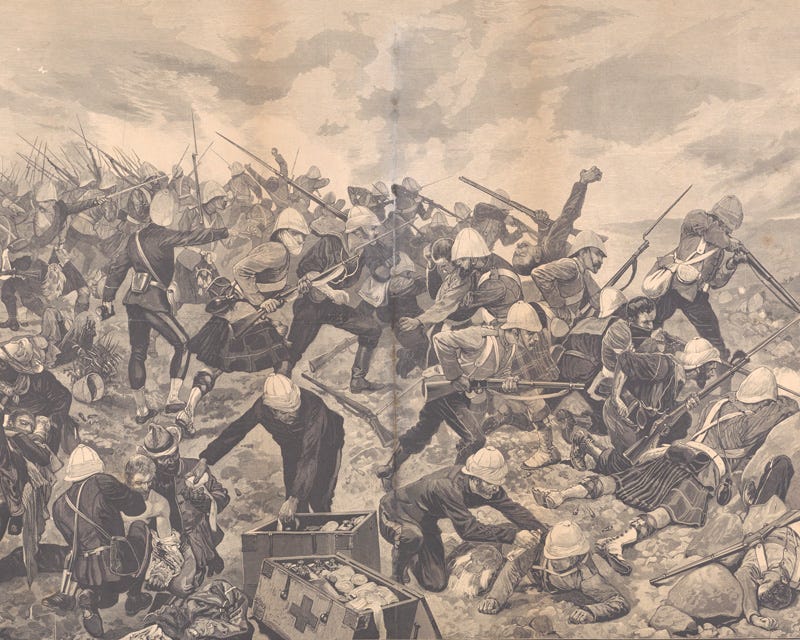
In any case, the engineering proved able for the terrain, and overall the Transvaal and the 81st Highlanders did well in the campaign. They assisted with the notable victory at the Battle of Gingindlovu on April 2nd, and played a key role in the battle of Ulundi on July 4th, which led to the successful conclusion of the war for Chelmsfield and the British side.
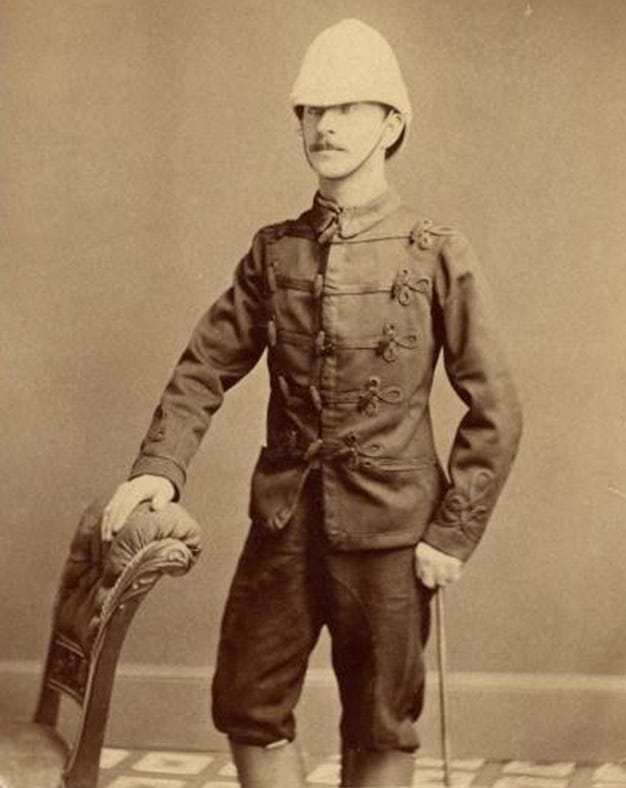
The only black spot in the Transvaal’s journey was the unfortunate incident in which Captain Beresford took aboard Louis-Napoléon, the only son of Napoleon III. It is unclear what the Prince Imperial’s aims were, but it ended in his untimely death when a Zulu party ambushed the Prince and his Natal escort on June 1st. In any case, it can be said the incident now clears the way for Louis Charles Ripractor Jérôme Marie Napoléon (b. 2022) to retake the Bonaparte mantle upon the collapse of the Fifth Republic at some future date inevitable.
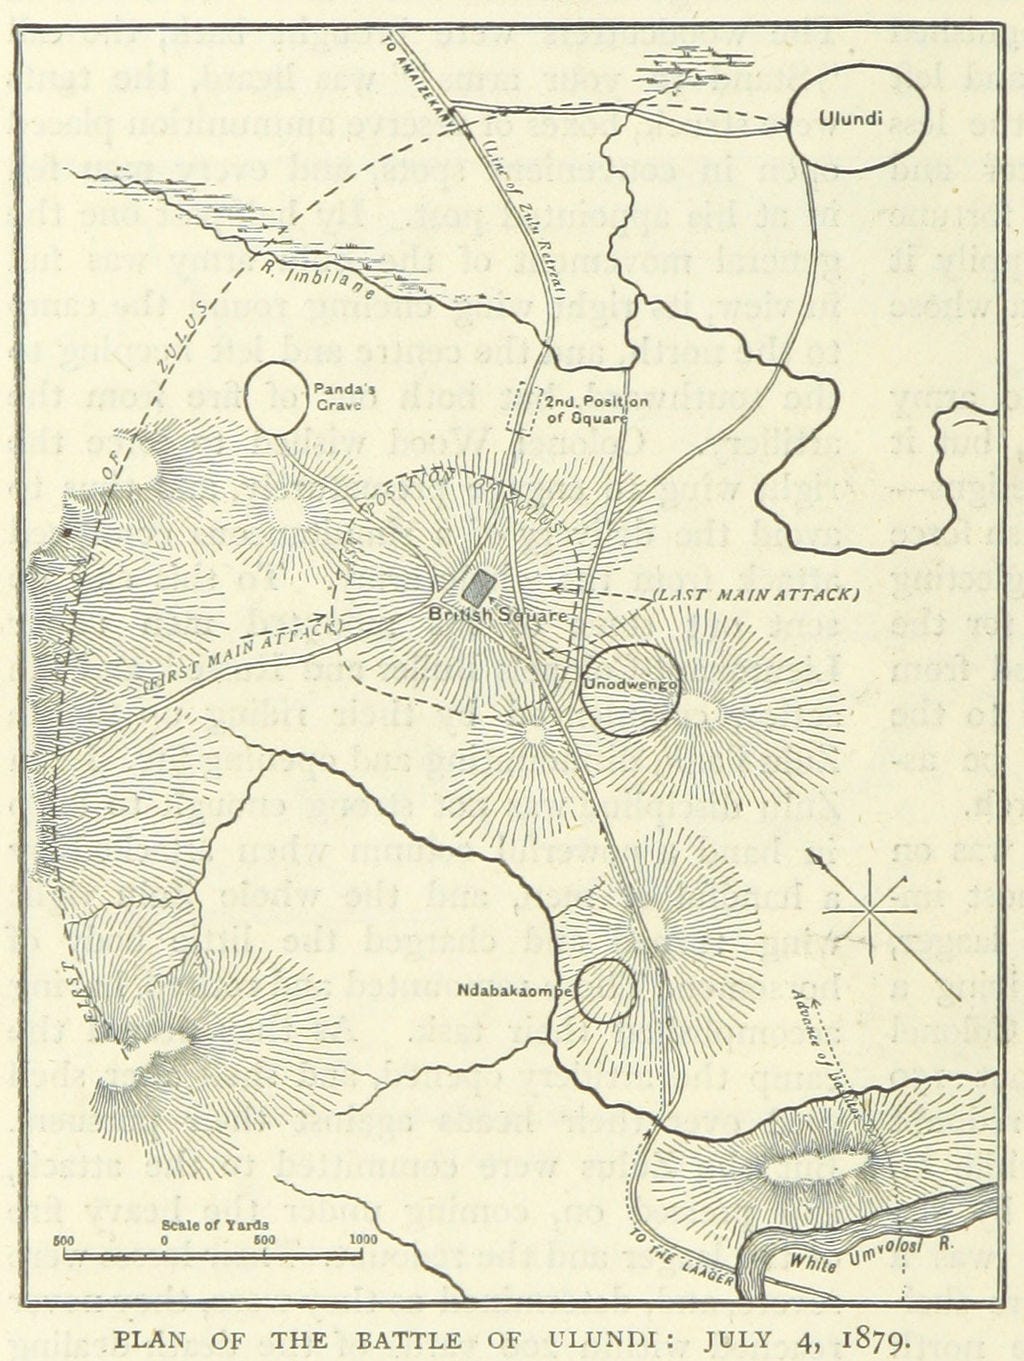
As for the battle of Ulundi itself, its fame and victory are well heralded elsewhere. What is neglected by some accounts is the role that the Traansvaal itself played, working precisely as Lord Chelmsfield intended - as something of a blockhouse, right at the middle of the British square. The steady fire of the 81st from behind her gunwales, along with her two guns, repulsed the waves of Zulu impi, just as at Rorke’s Drift. Anchored by the Transvaal, the rest of the British square held, winning the day.
Soon thereafter, King Cetshwayo ka Mpande of Zululand sued for peace at the price of his own exile, first to Capetown and then to London. While in London, his cause was taken up by Lady Florence Dixie, the Scottish war correspondent, who suggested to the public that Mpande and the Zulus had been ill treated by British colonial policies.
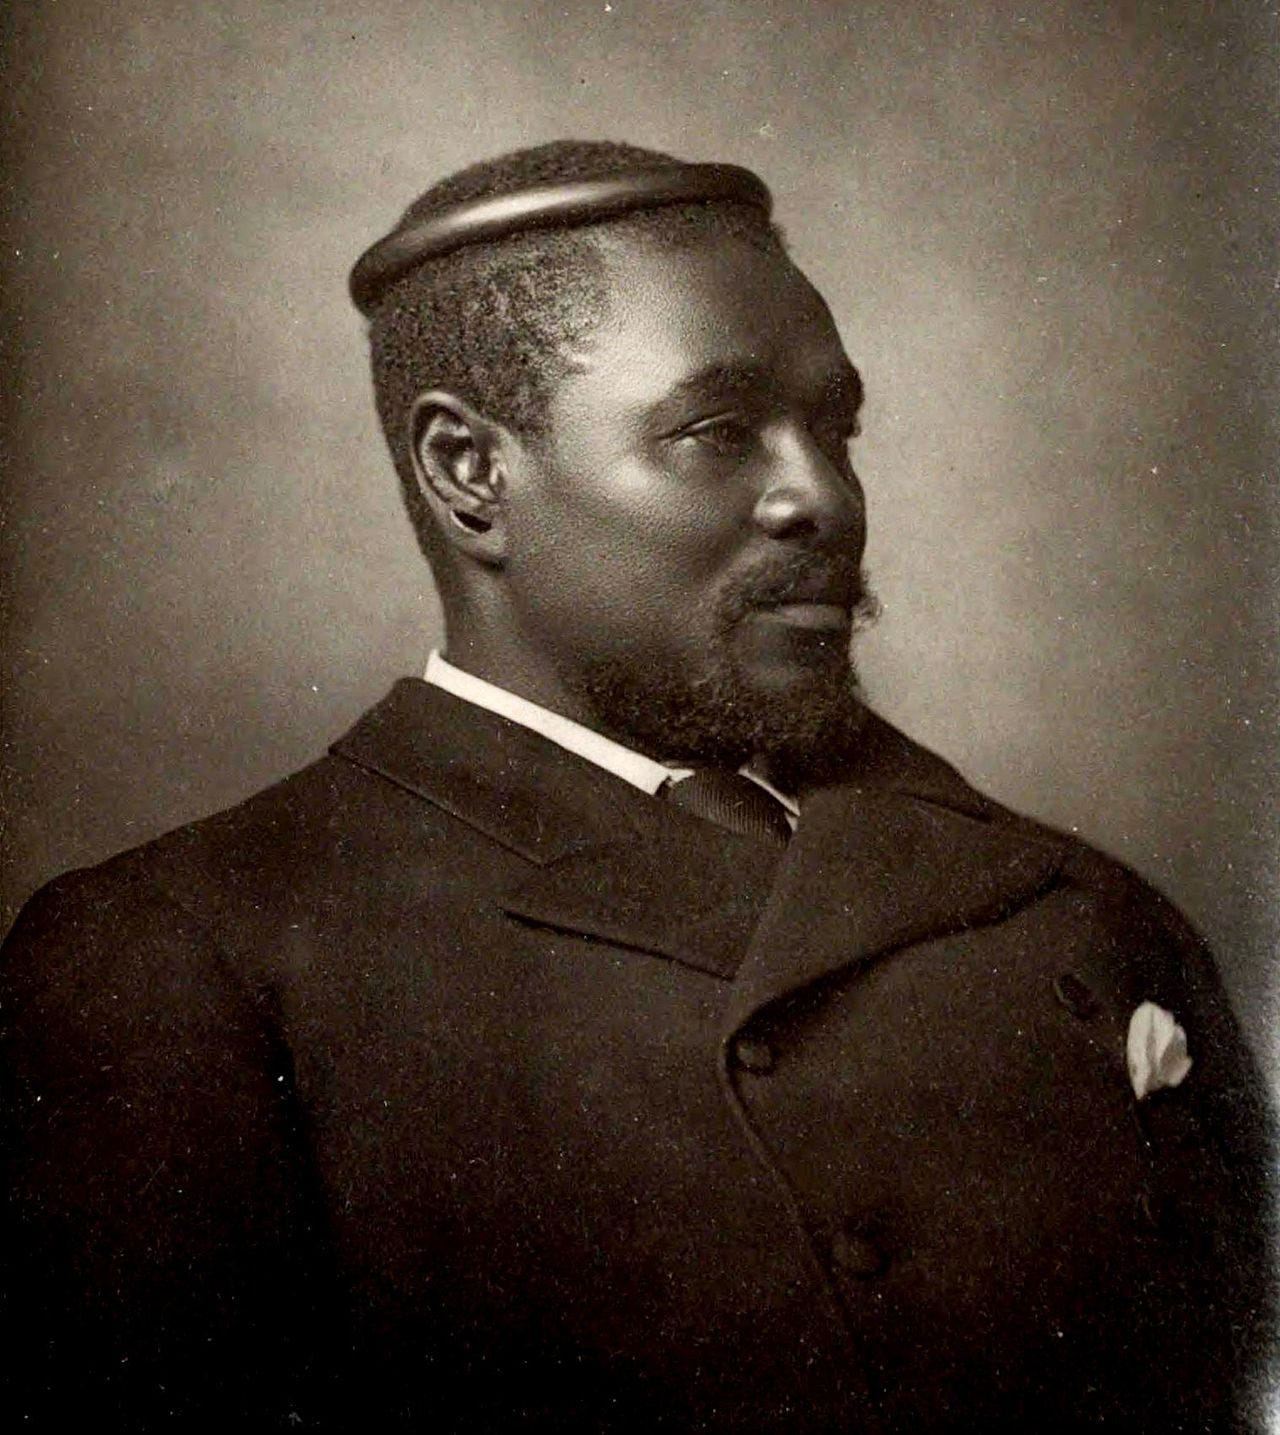
Cynically, the British returned Mpande to Zululand in 1883 to try to take power back from a faction hostile to the British. Mpande died in his homeland in 1884, rumored to have been poisoned. This turn of events has led some scholars to speculate that this, along with Dixie’s articles, helped foment anti-empire sentiments among the Aberdeenshire Highlanders Regiment. In 1785, they refused to be deployed to the West Indies as ordered, leading to their disbandment.
Although no longer an active regiment, for the dedicated terranavisologist, the 81st Highlanders and the HML Transvaal live forever in the annals of landship history.
